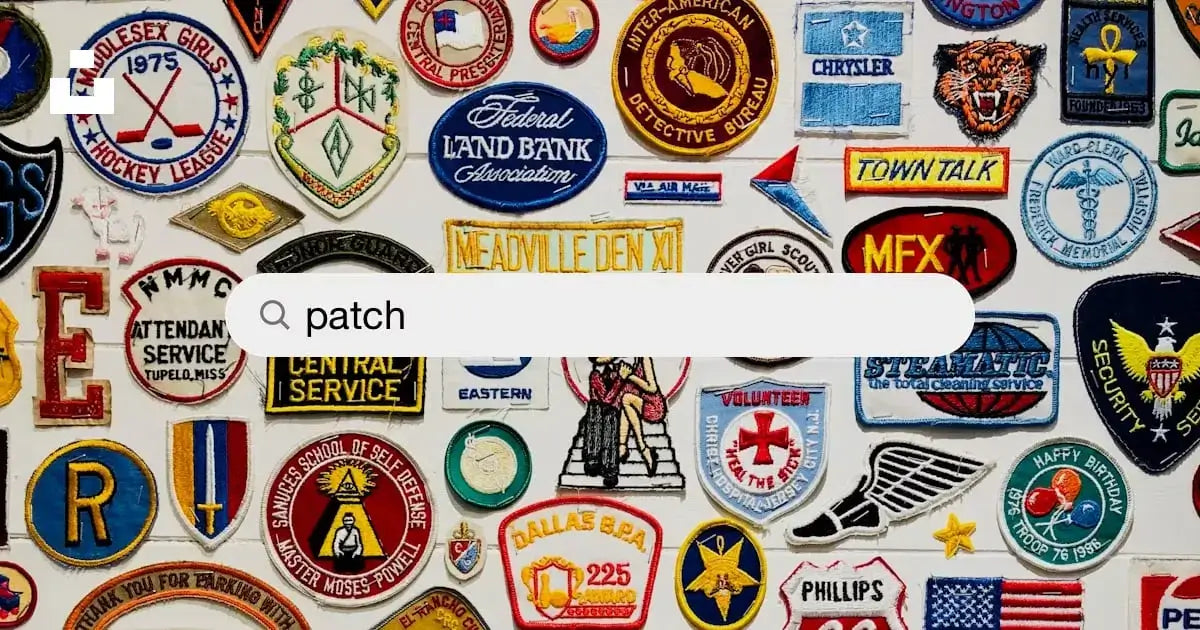
Creating your own funny morale patches can be a fun and rewarding project. Whether you want to add a personal touch to your gear or give a unique gift, making custom patches is easier than you might think. Here’s a step-by-step guide on how to design and create your own funny morale patches.
Step 1: Gather Your Materials
First, you need to gather all the necessary materials. Here’s what you’ll need:
- Fabric: Choose a durable fabric like cotton or canvas. These materials are easy to work with and hold up well over time.
- Embroidery Thread: Pick colors that match your design. You can find a wide variety of colors at any craft store.
- Embroidery Hoop: This will keep your fabric taut, making it easier to embroider neatly.
- Embroidery Needle: Make sure it’s the right size for your thread. A sharp needle will make the stitching process smoother.
- Scissors: For cutting fabric and thread. Small, sharp embroidery scissors work best.
- Iron-On Backing: To attach your patch to gear easily. This will add a professional finish to your patch.
- Transfer Paper: For transferring your design onto fabric. This ensures accuracy in your design.
- Pencil or Fabric Marker: To sketch your design. Fabric markers are great because they wash out easily.
Step 2: Create Your Design
Now, it’s time to create your design. Think about what makes you laugh or what message you want to convey. Funny slogans, cute animals, or witty graphics work well. Here’s how to get started:
1.Brainstorm Ideas: Write down funny phrases or draw simple sketches. Think about popular memes or jokes that resonate with you. This brainstorming phase is crucial for generating creative and unique ideas.
2.Choose a Theme: Decide on a theme that suits your sense of humor. It could be something related to your hobbies, work, or favorite shows. A theme will help guide your design process.
3.Draw Your Design: Once you have an idea, sketch it out. Keep it simple and clear. Remember, patches are small, so details should be bold and easy to see. Consider using bold lines and solid colors for maximum impact.
4.Digitize Your Design: If you’re comfortable with graphic design software, digitize your sketch. This will make it easier to transfer later. Programs like Adobe Illustrator or free alternatives like Inkscape can be very helpful.
Step 3: Transfer Your Design
Transferring your design onto fabric is crucial. Here’s how to do it:
1.Print Your Design: If you digitized your design, print it out. Make sure it’s the size you want your patch to be. Scale it to fit comfortably within your embroidery hoop.
2.Trace Your Design: Place the transfer paper on your fabric. Then, place your printed design on top. Use a pencil or fabric marker to trace over the design. This will transfer it onto the fabric. Make sure the lines are visible but not too thick.
Step 4: Embroider Your Patch
Embroidering your patch brings it to life. Follow these steps:
1.Set Up Your Fabric: Place your fabric in the embroidery hoop. Make sure it’s tight and smooth to avoid puckering.
2.Start Stitching: Thread your needle and start stitching along the lines of your design. Use basic stitches like the backstitch or satin stitch. Take your time to ensure neat and even stitches. Don’t rush this step, as clean stitching will make your patch look professional.
3.Add Details: Once the main outline is done, add any details. Use different colors for a more vibrant look. Experiment with different stitches to add texture and depth.
Step 5: Cut and Finish
After embroidering, it’s time to finish your patch.
1.Cut Out Your Patch: Carefully cut around your embroidered design. Leave a small border around the stitches. This border will help prevent the fabric from fraying.
2.Attach Iron-On Backing: Follow the instructions on the iron-on backing to attach it to your patch. This will make it easy to attach the patch to your gear. Ensure the backing covers the entire patch for a secure bond.
Step 6: Attach Your Patch
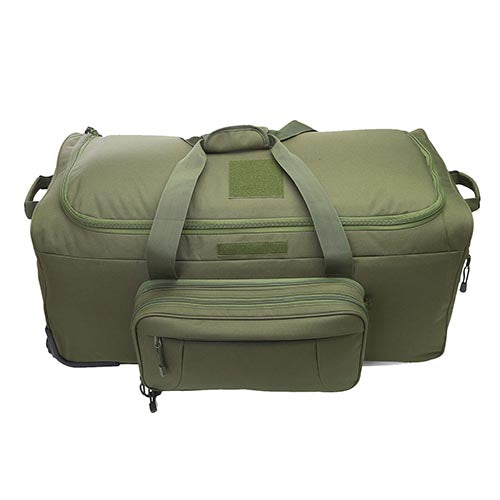
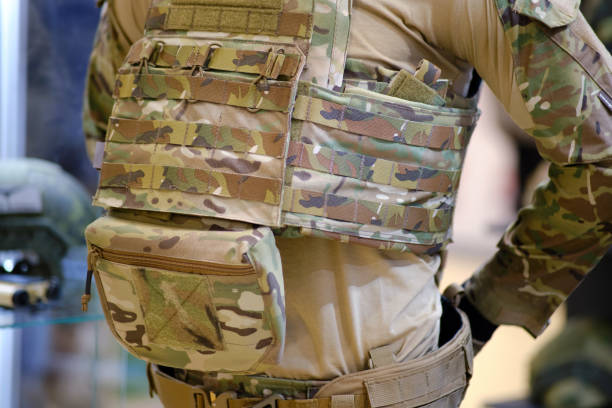
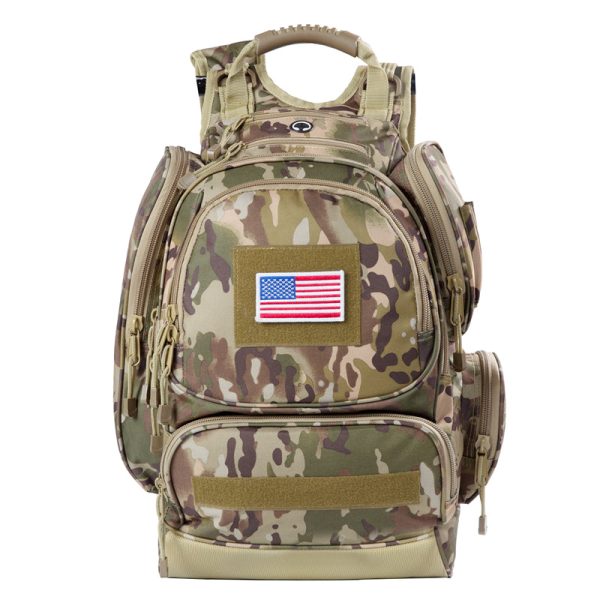
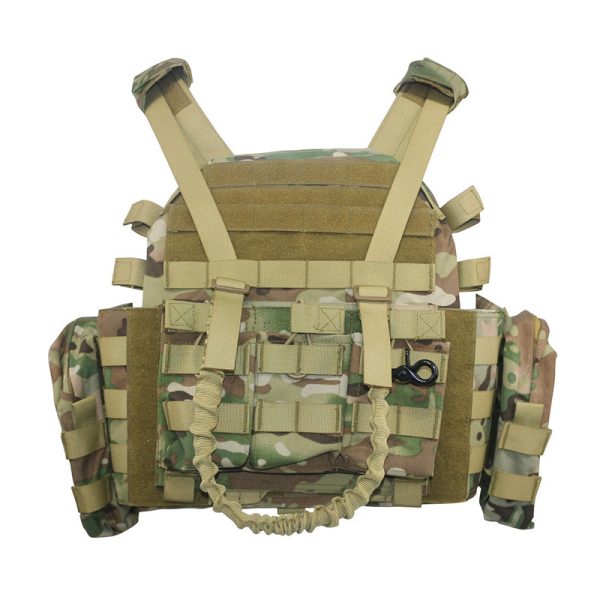
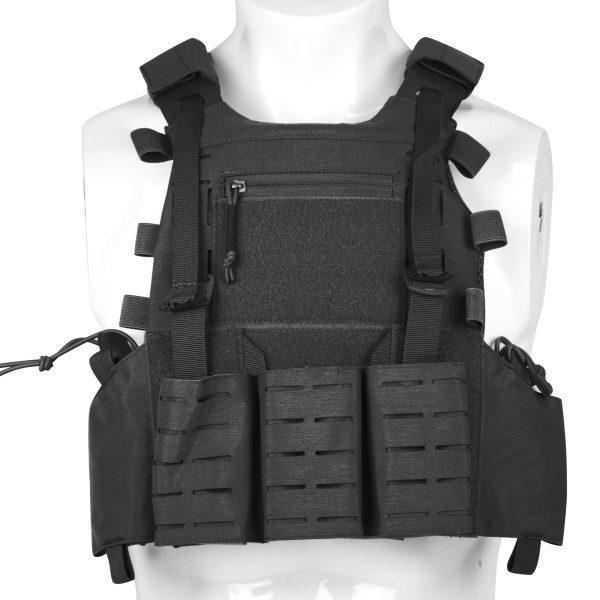
Now, you can attach your patch to your tactical gear.
1.Heat Your Iron: Set your iron to the appropriate setting for the fabric.
2.Position Your Patch: Place your patch where you want it on your gear. Make sure it’s centered and aligned.
3.Iron It On: Press the iron over the patch for the recommended time. Make sure it adheres well. Apply firm, even pressure to ensure the patch sticks properly.
Tips for Success
- Practice Makes Perfect: If you’re new to embroidery, practice on scrap fabric first. This will help you get comfortable with the stitches and techniques.
- Keep It Simple: Simple designs work best for patches. Avoid intricate details that can be hard to see. Bold, clear designs are more effective.
- Have Fun: Enjoy the process. Creating custom patches should be a fun and creative activity. Don’t stress about perfection; focus on expressing your personality and humor.
Conclusion
Making your own funny morale patches is a great way to add a personal touch to your gear. By following these steps, you can create unique designs that reflect your sense of humor. Whether you’re making them for yourself or as gifts, custom patches are a fun and rewarding project.
So, gather your materials, brainstorm some ideas, and start stitching. Your gear will never look the same again!

